| Jean
Day Miniatures
Miniature Angel Project For other Angel Projects |
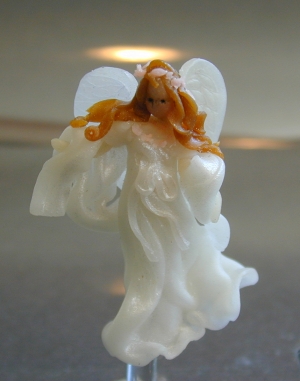
Delphine is 1 1/2" in height and is made out of Cernit but you can also use transparent fimo or sculpey. Your angel can be used to decorate
|
| Basic
Tools and Supplies
Ceramic tile
|
 |
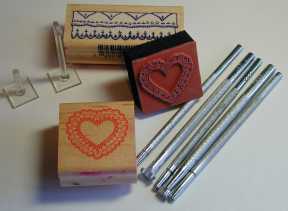
| Optional
Tools
Rubber stamps in butterfly, heart
design or other design to press into gown
|
 |
| Getting
Started
Work with very clean hands. I
like to use hand wipes, they are also very good for cleaning your tools
as well or you can use baby oil. I am going to be using white cernit for
the dress and body and flesh cernit for the arms and head. Pink cernit
for the garland and brown mix for the hair.
|
 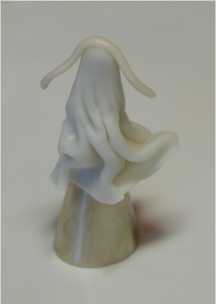  |
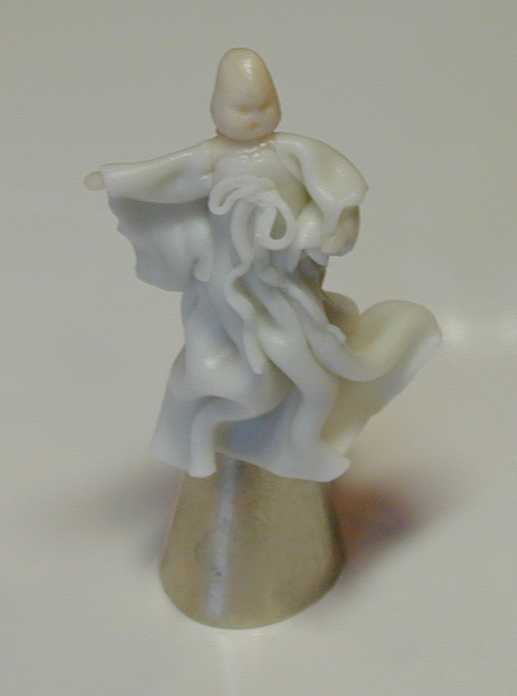
| Roll
out a thin roll of flesh for the arms, place and press on top of the body.
Cut out two strips 3/8"x1" and fold over the arms for the sleeves. I have
shaped one arm straight and the other is bent at the elbow. Arrange the
fabric cernit on the sleeve so it looks draped.
Cut a couple of narrow strips and shape onto the gown into a bow with ribbons. Roll a tiny ball and apply to the top of the body for the neck. Roll out another ball shape about 3/8" and apply to the top of the neck for the head. Press a tooth pick in for the two eyes and a small indentation for the mouth.
|
 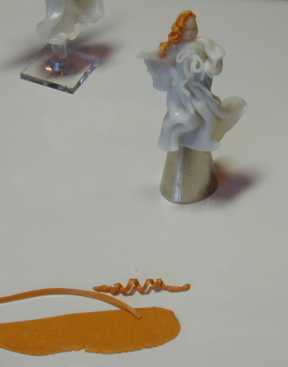 |
| Roll
out a hair colour about the same thickness as the gown. Cut in narrow strips
and wrap around a pin into curls and apply to the head. Shaping and adding
more until it covers.
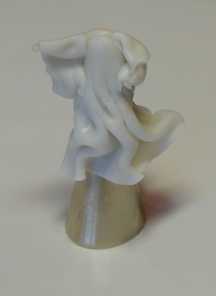
Roll out more of the white cernit
for the wings. Roll this thicker than for the gown. Cut out two wing shapes
with the leaf punch. I pressed a feather design in the wings with a leather
punch but you can put a design in the wings with your knife or toothpick
or anything else that you can use for a texture.
Bake it in a toaster oven or oven set at 265 degrees for 10 min. I know other people say to bake it longer but this is really thin cernit and cooked too long will change the colour from white to cream. Immediately submerge the angel still on the metal decorating tip in ice water when you take it out of the oven as it will help strengthen your angel. Now you can remove the metal decorating tip and put your angel on a plastic stand or hang. Now you can darken the eyes with a light touch of a permanent marker, I prefer a fine Pentel or use paints. I made the plastic stand by cutting off a plastic hook from a plastic shop that are used for hanging products. I created this angel project
in memory of "Bubbles" Barb Wright.
|
| ©
Jean Day Miniatures 2002
Background thanks to Country Clip Art |